Quick Links
Fortnite OG brings players back to the nostalgic roots of Battle Royale, revisiting the iconic Chapter 1, Season 1. This mode features the original map and loot pool, making it crucial for players to familiarize themselves with the weapons and items available as they navigate their way to victory in this nostalgic setting.
Fortnite offers a mix of essential and less useful weapons and items, and understanding the Fortnite OG loot pool is key, especially as the game progresses through subsequent seasons where new weapons will alter the gameplay meta.
All Fortnite OG Assault Rifles
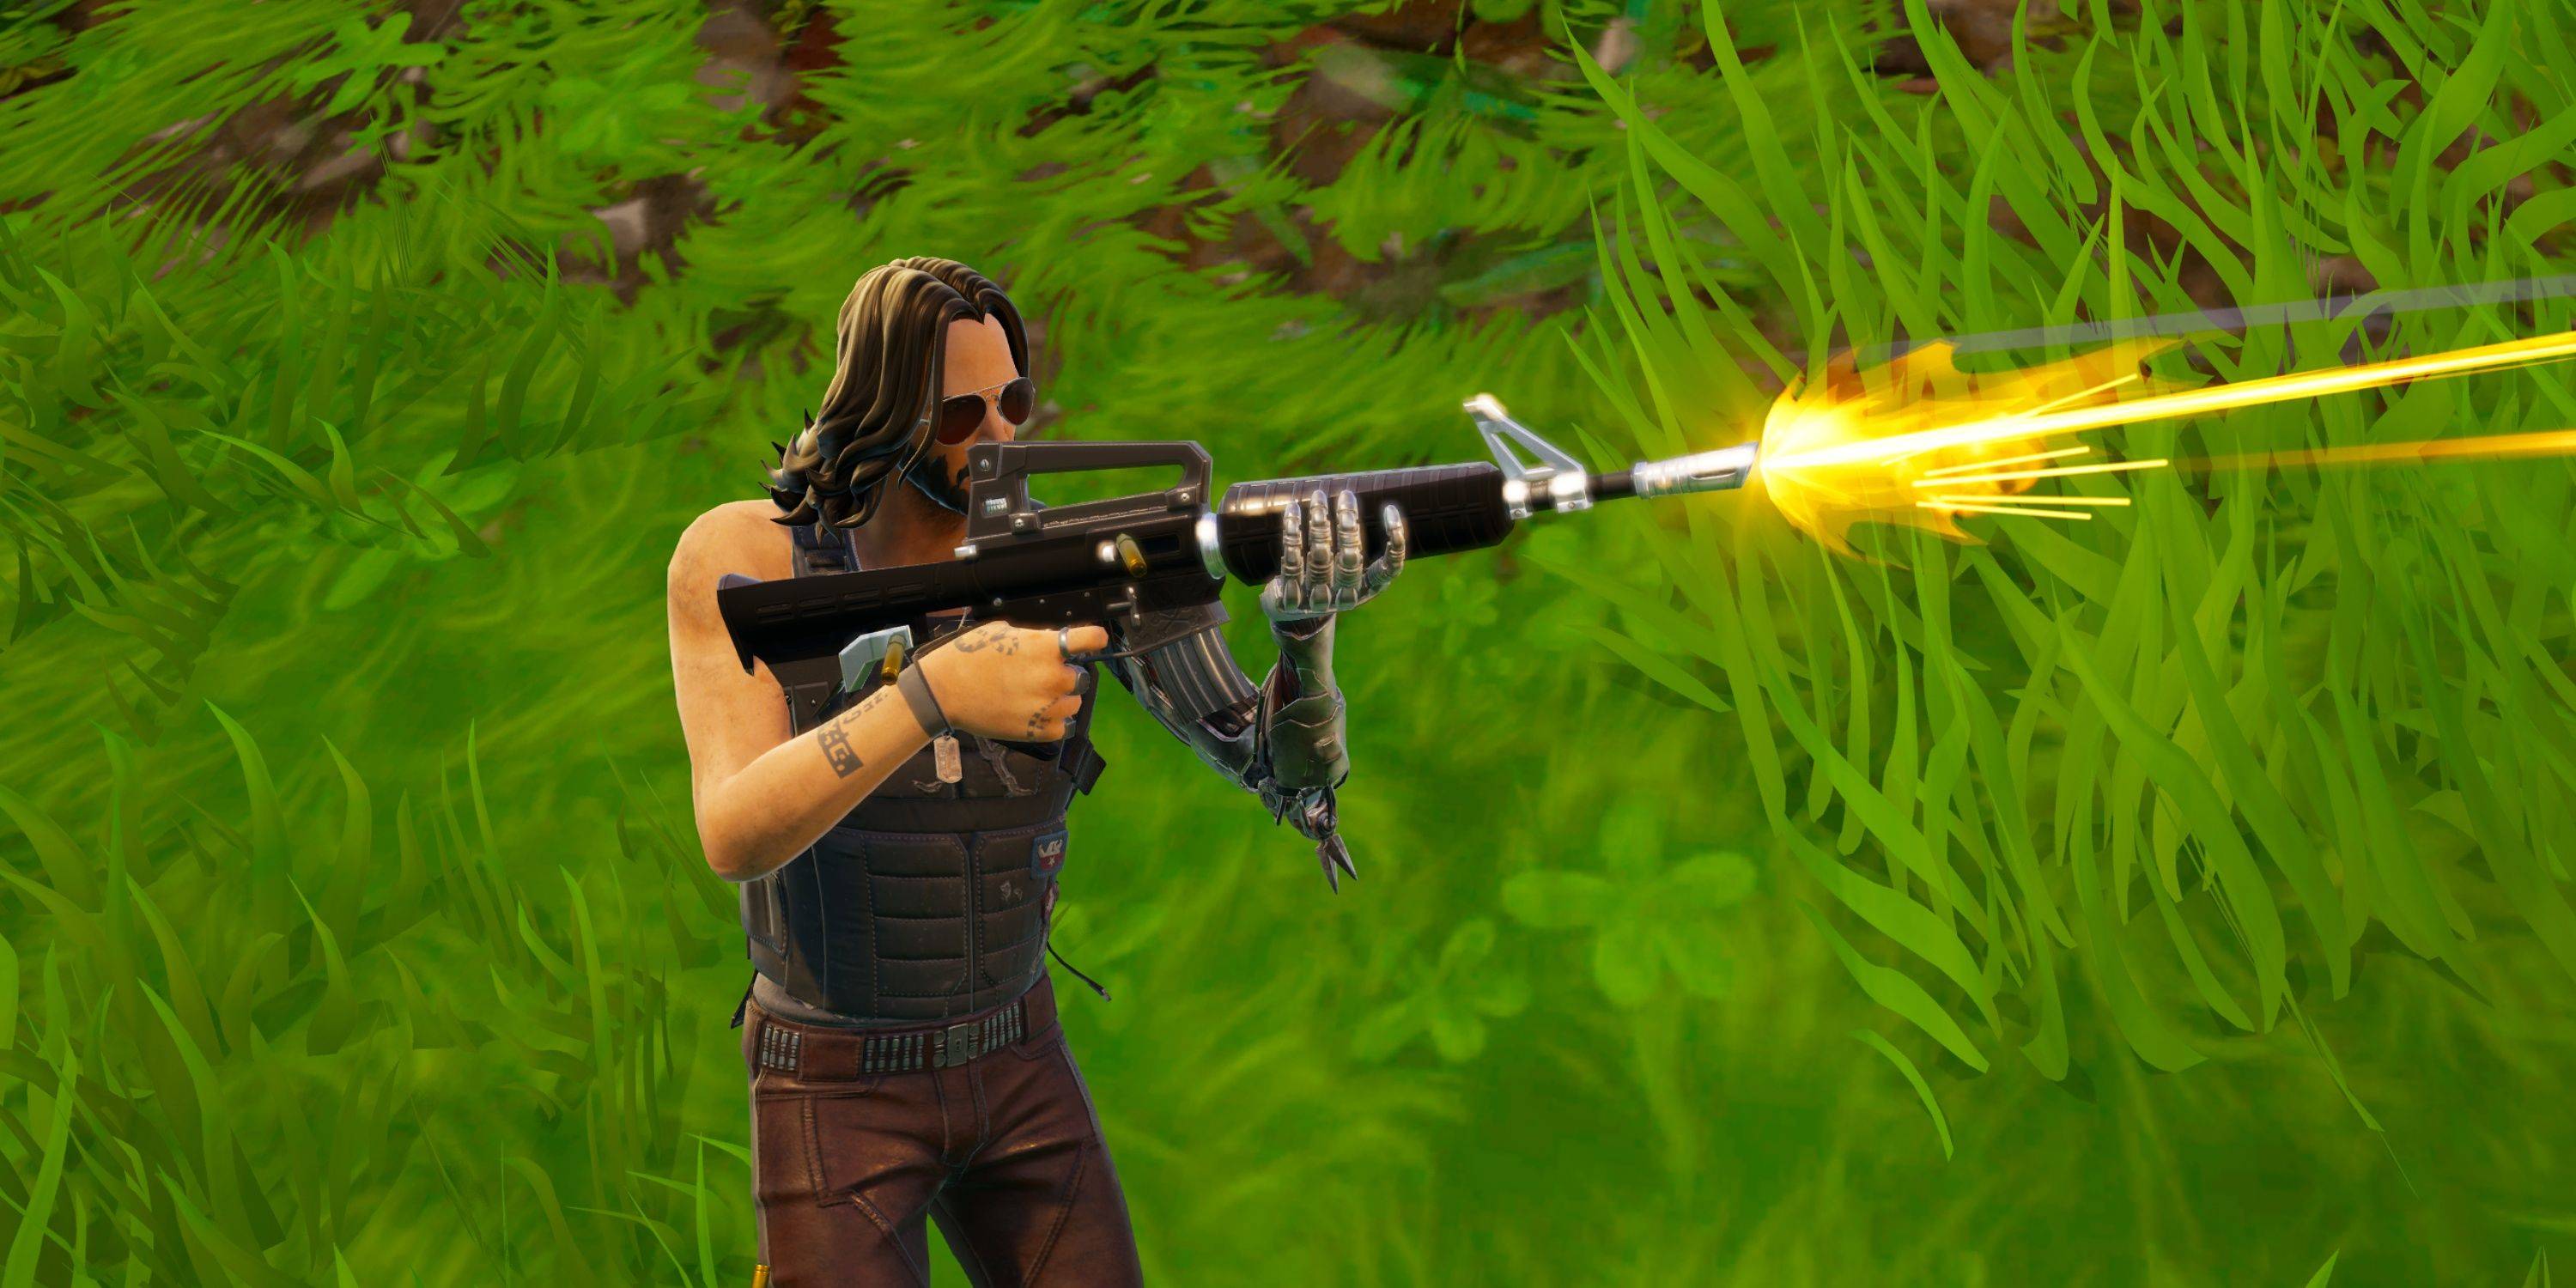 With the return of hitscan weapons, Assault Rifles in Fortnite OG provide a satisfying shooting experience. However, the bloom of some weapons can be challenging, making the standard Assault Rifle the go-to choice, particularly since the Scoped Assault Rifle's aim doesn't align perfectly with its bullet trajectory:
Assault Rifle
Rarity
Common
Uncommon
Rare
Epic
Legendary
Damage
30
31
33
35
36
Magazine Size
30
30
30
30
30
Fire Rate
5.5
5.5
5.5
5.5
5.5
Reload Time
2.75s
2.625s
2.5s
2.375s
2.25s
Structure Damage
30
31
33
35
36
The Assault Rifle is a staple in Fortnite OG, prized for its manageable bloom, ample magazine capacity, and solid damage output. It's a reliable choice for any combat scenario, especially when you secure the rare golden Scar.
Burst Assault Rifle
Rarity
Common
Uncommon
Rare
Epic
Legendary
Damage
27
29
30
36
37
Magazine Size
30
30
30
30
30
Fire Rate
4.06
4.06
4.06
3.69
3.69
Reload Time
2.75s
2.62s
2.5s
2.38s
2.25s
Structure Damage
27
29
34
36
37
The Burst Assault Rifle can be tricky to use effectively due to its three-round burst, which penalizes missed shots. Its high bloom and inconsistency make it less favored among players.
Scoped Assault Rifle
Rarity
Rare
Epic
Legendary
Damage
23
24
37
Magazine Size
20
20
20
Fire Rate
3.5
3.5
3.5
Reload Time
2.3s
2.2s
2.07s
Structure Damage
23
24
37
The Scoped Assault Rifle is one of the few weapons that allow first-person aiming in Fortnite OG. Despite its hitscan advantage, the misalignment between the reticle and bullet path makes it a challenging weapon to master.
All Fortnite OG Shotguns
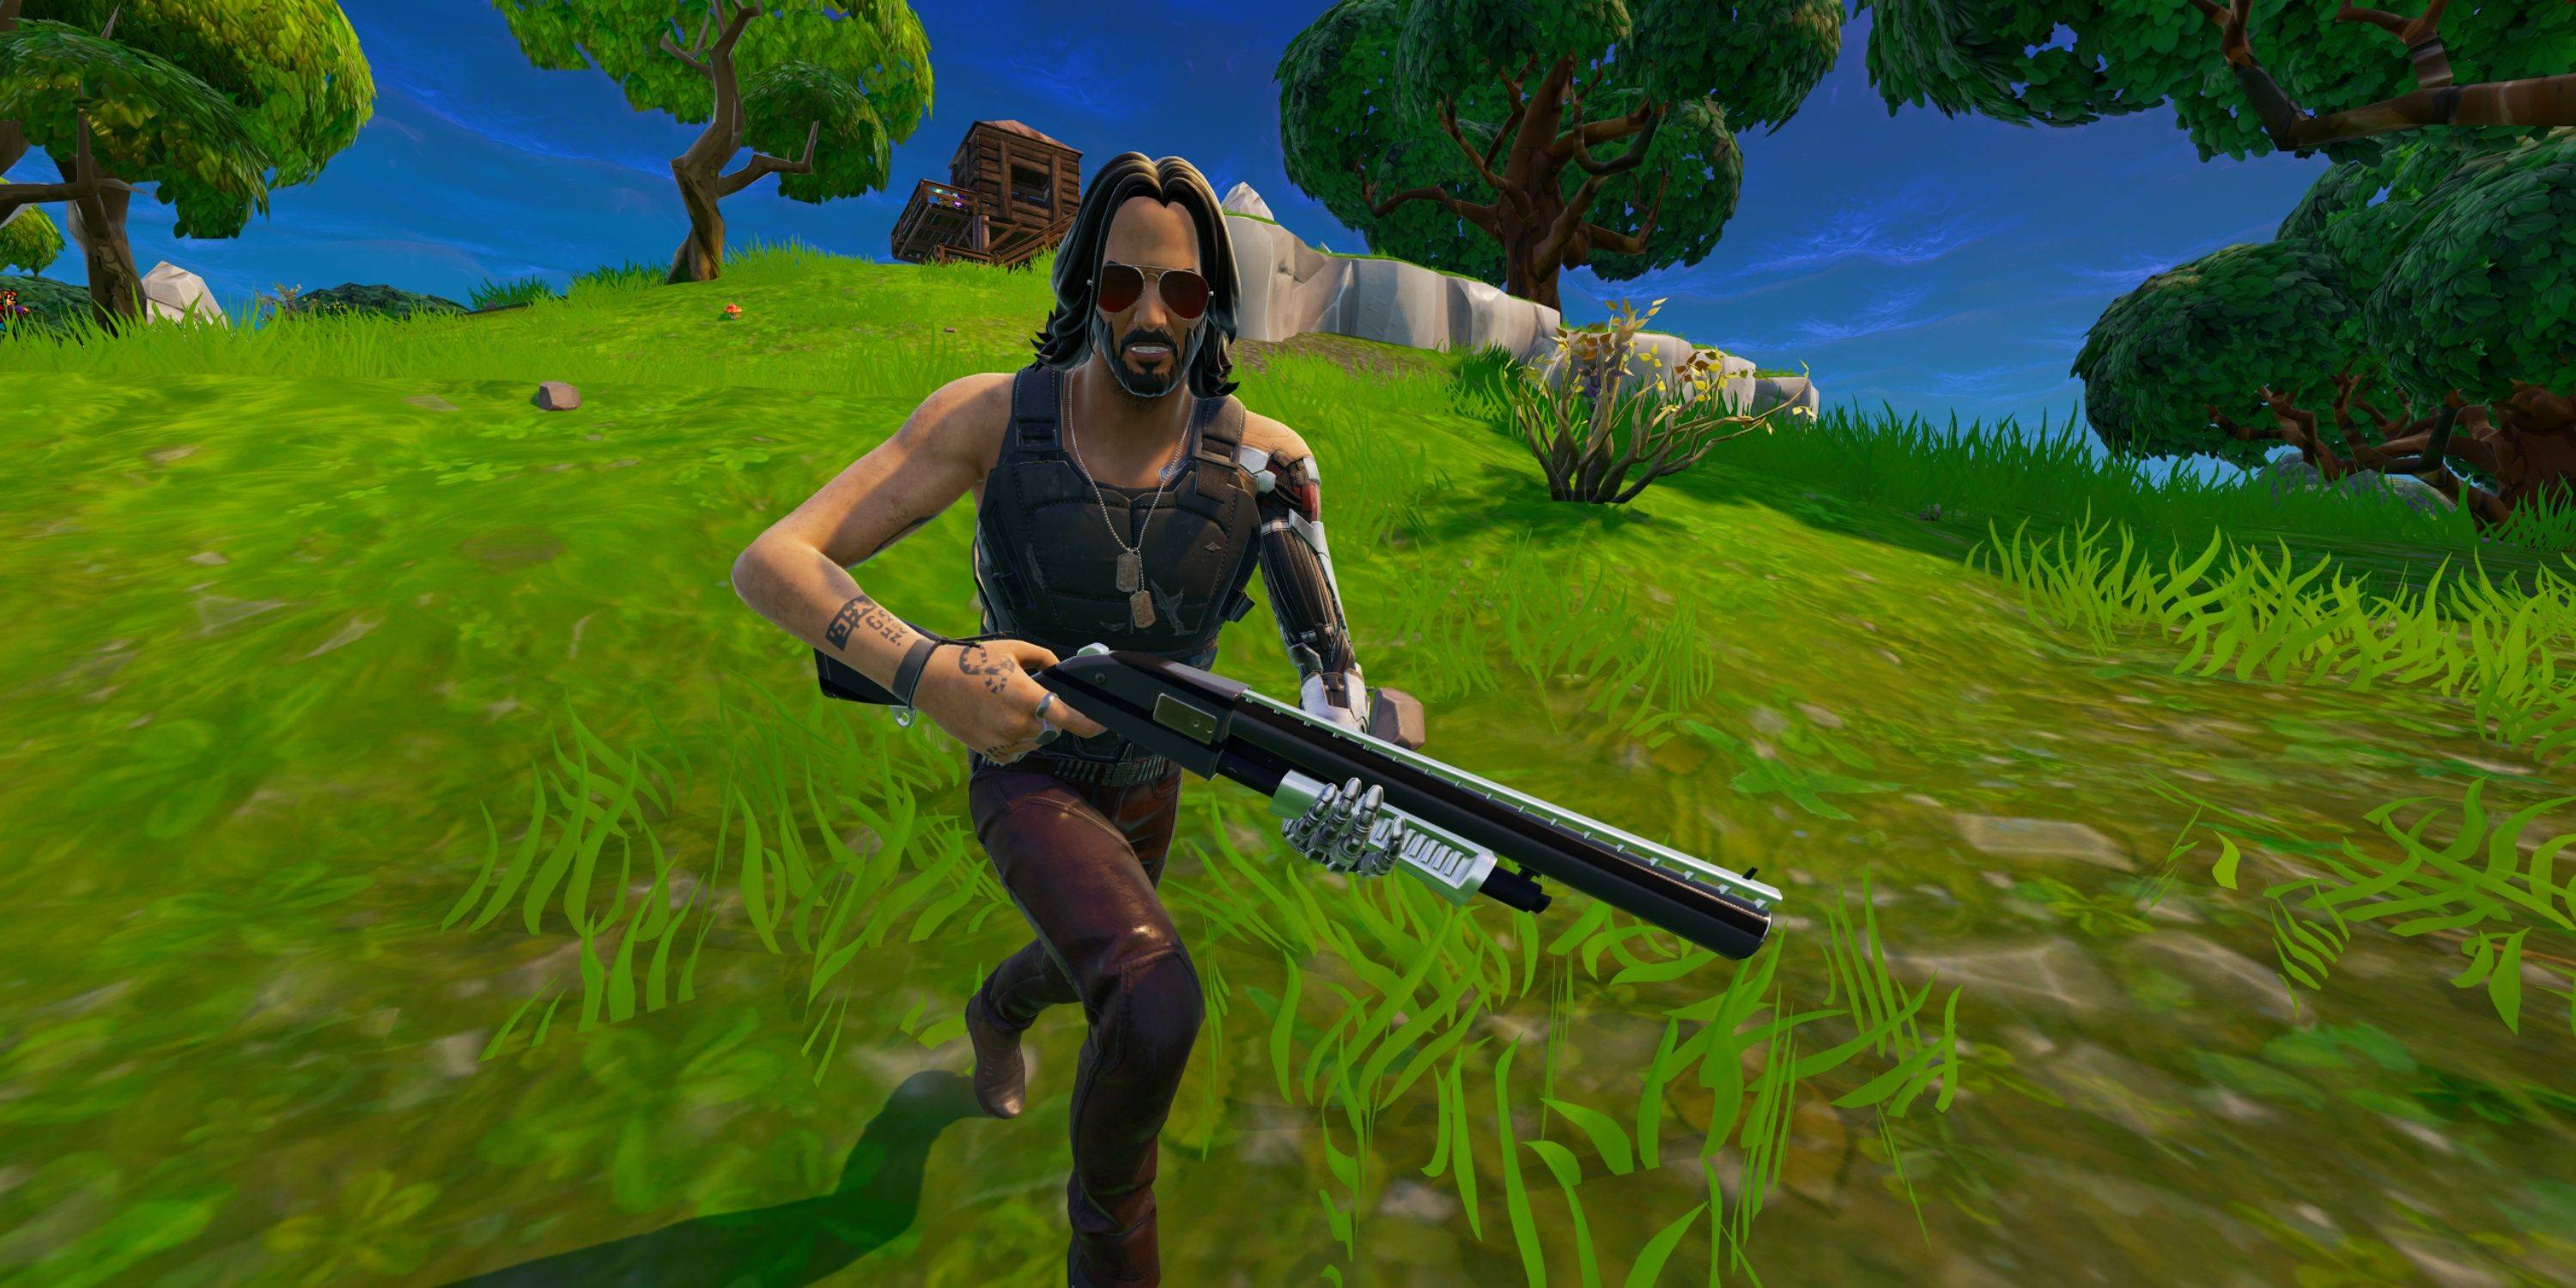 Shotguns are vital in the Fortnite Chapter 1 Season 1 meta due to their high damage output and rapid fire rate, dominating close-quarters combat. The Double Pump strategy can secure quick victories:
Pump Shotgun
Rarity
Common
Uncommon
Rare
Epic
Legendary
Damage
90
95
110
119
128
Magazine Size
5
5
5
5
5
Fire Rate
0.7
0.7
0.7
0.7
0.7
Reload Time
4.8s
4.6s
4.4s
4.2s
4s
Structure Damage
90
95
110
119
128
The Pump Shotgun, with its 2.5x headshot multiplier, offers the potential for instant kills. Utilizing two Pump Shotguns simultaneously through the Double Pump technique can overwhelm opponents in close-range encounters.
Tactical Shotgun
Rarity
Common
Uncommon
Rare
Damage
67
70
74
Magazine Size
8
8
8
Fire Rate
1.5
1.5
1.5
Reload Time
6.3s
6s
5.7s
Structure Damage
67
70
74
The Tactical Shotgun's higher fire rate makes it a safer option, and its 2.5x headshot multiplier can deliver lethal damage at close range.
All Fortnite OG Pistols
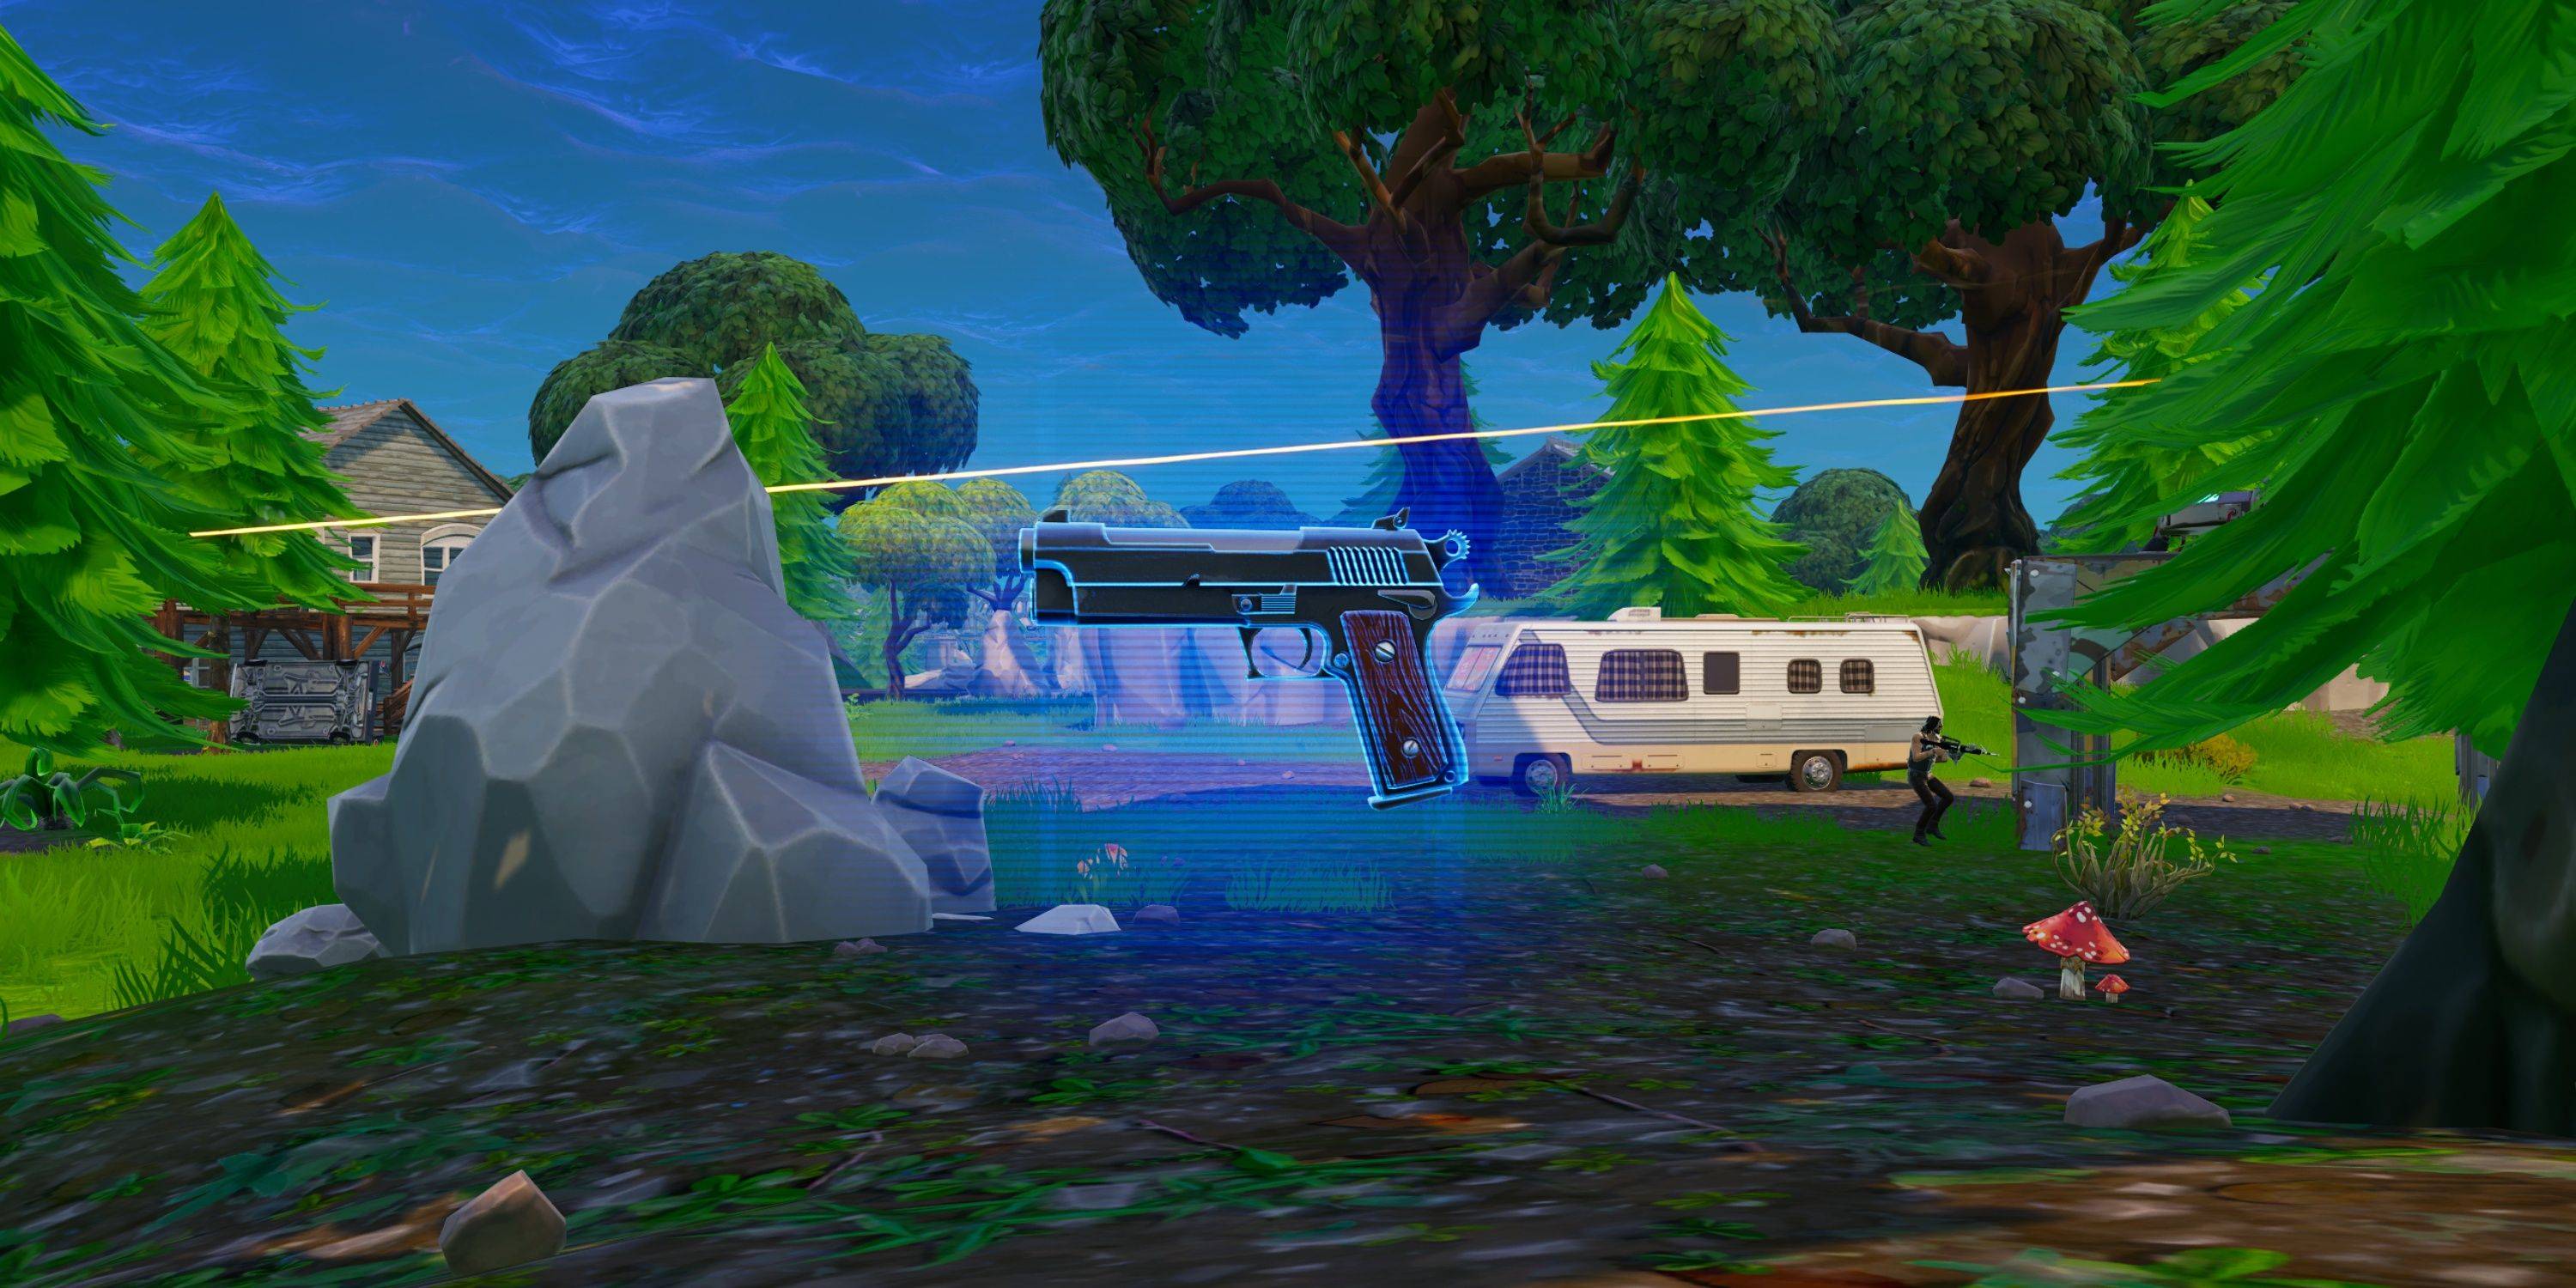 Pistols serve as excellent starting weapons for players fresh off the Battle Bus, though they're less ideal for endgame scenarios. Fortnite OG features two types of pistols:
Semi-Auto Pistol
Rarity
Common
Uncommon
Rare
Damage
24
25
26
Magazine Size
16
16
16
Fire Rate
6.8
6.8
6.8
Reload Time
1.5s
1.47s
1.4s
Structure Damage
24
25
26
The Semi-Auto Pistol, commonly found on the ground, uses Light Bullets and has a 2x headshot multiplier. Its high fire rate is advantageous, but its damage drop-off can be a drawback.
Revolver
Rarity
Common
Uncommon
Rare
Epic
Legendary
Damage
54
57
60
63
66
Magazine Size
6
6
6
6
6
Fire Rate
0.9
0.9
0.9
0.9
0.9
Reload Time
2.2s
2.1s
2s
1.9s
1.8s
Structure Damage
54
57
60
63
66
The Revolver, reminiscent of a classic six-shooter, uses Medium Bullets with a 2x headshot multiplier. Its significant recoil can lead to accuracy issues due to bloom.
All Fortnite OG SMGs
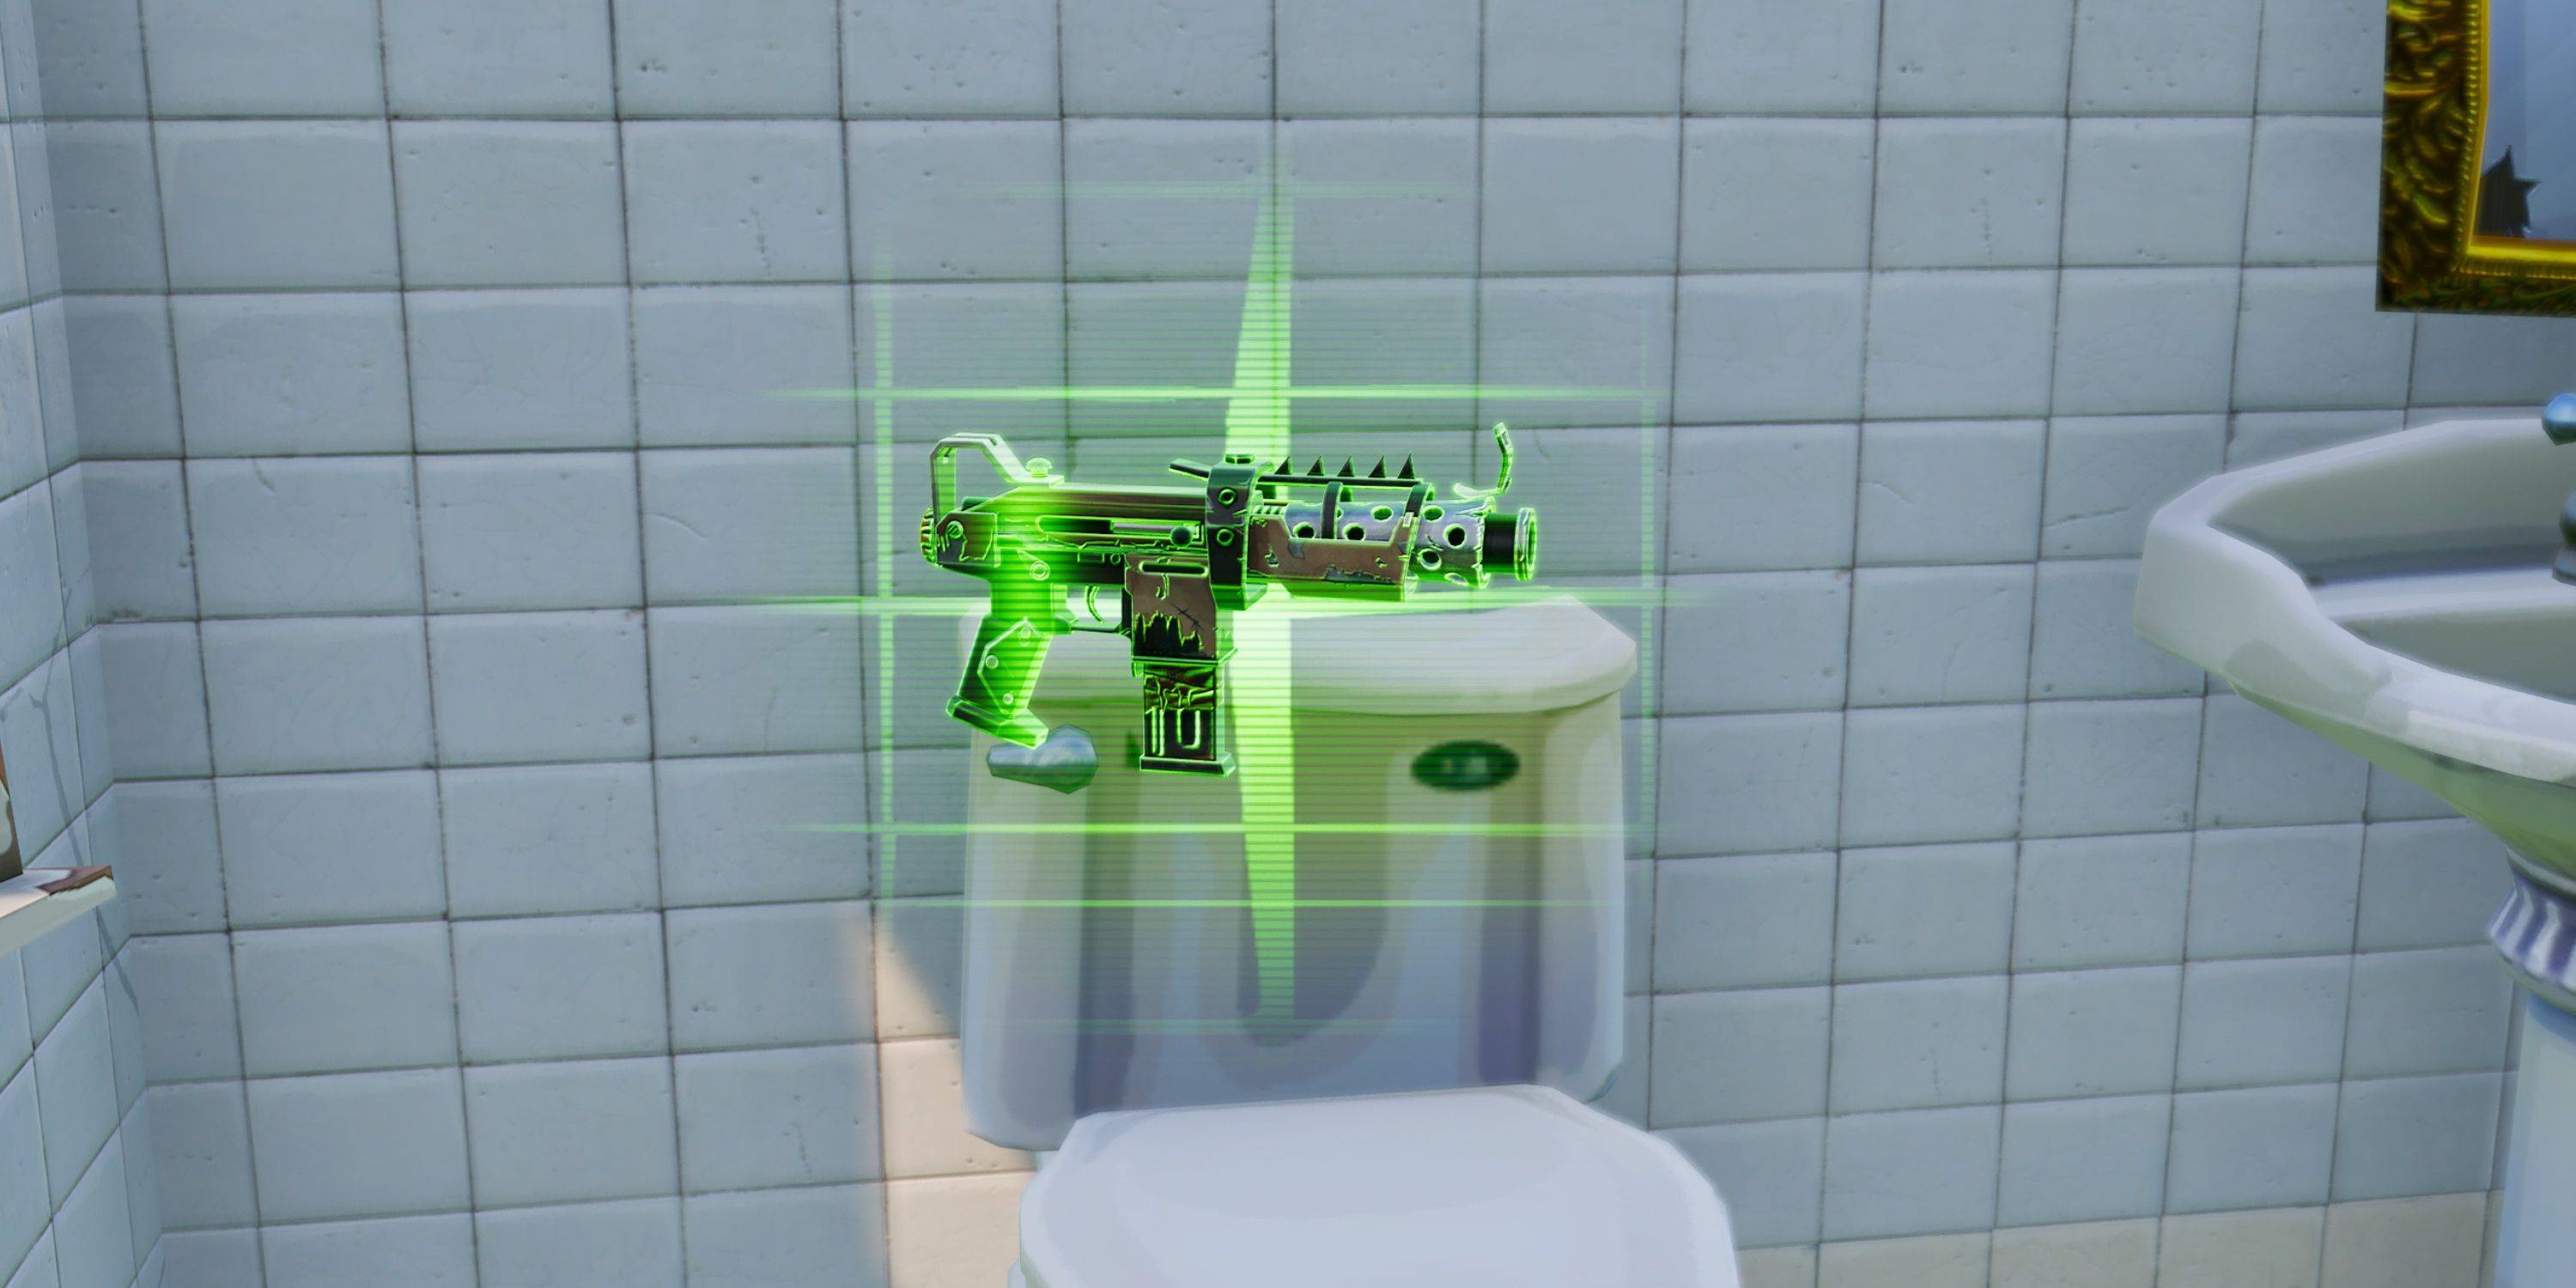 SMGs are effective in close-range combat but can't match the DPS of a Double Pump and are less useful at longer ranges. Here are the stats for the available SMGs:
Suppressed Submachine Gun
Rarity
Common
Uncommon
Rare
Epic
Damage
17
18
19
23
Magazine Size
30
30
30
30
Fire Rate
9
9
9
9
Reload Time
2.2s
2.1s
2s
1.9s
Structure Damage
17
18
19
23
The Suppressed Submachine Gun, using Light Bullets, offers a 2.5x headshot multiplier. It's the preferred SMG in the current meta due to its suppressive capabilities and damage falloff starting at 20 meters.
Tactical Submachine Gun
Rarity
Uncommon
Rare
Epic
Damage
16
17
18
Magazine Size
30
30
30
Fire Rate
10
10
10
Reload Time
2.4s
2.3s
2.2s
Structure Damage
16
17
18
The Tactical Submachine Gun is effective at short range with reduced bloom, but its inconsistent fire rate can make close-range fights unpredictable despite the 2.5x headshot multiplier.
Submachine Gun
Rarity
Common
Uncommon
Rare
Damage
14
15
16
Magazine Size
35
35
35
Fire Rate
15
15
15
Reload Time
2.2s
2.1s
2s
Structure Damage
14
15
16
Despite its high fire rate, the Submachine Gun consumes Light Bullets rapidly, and its accuracy suffers at longer ranges, making it less suitable for extended engagements.
All Fortnite OG Sniper Rifles
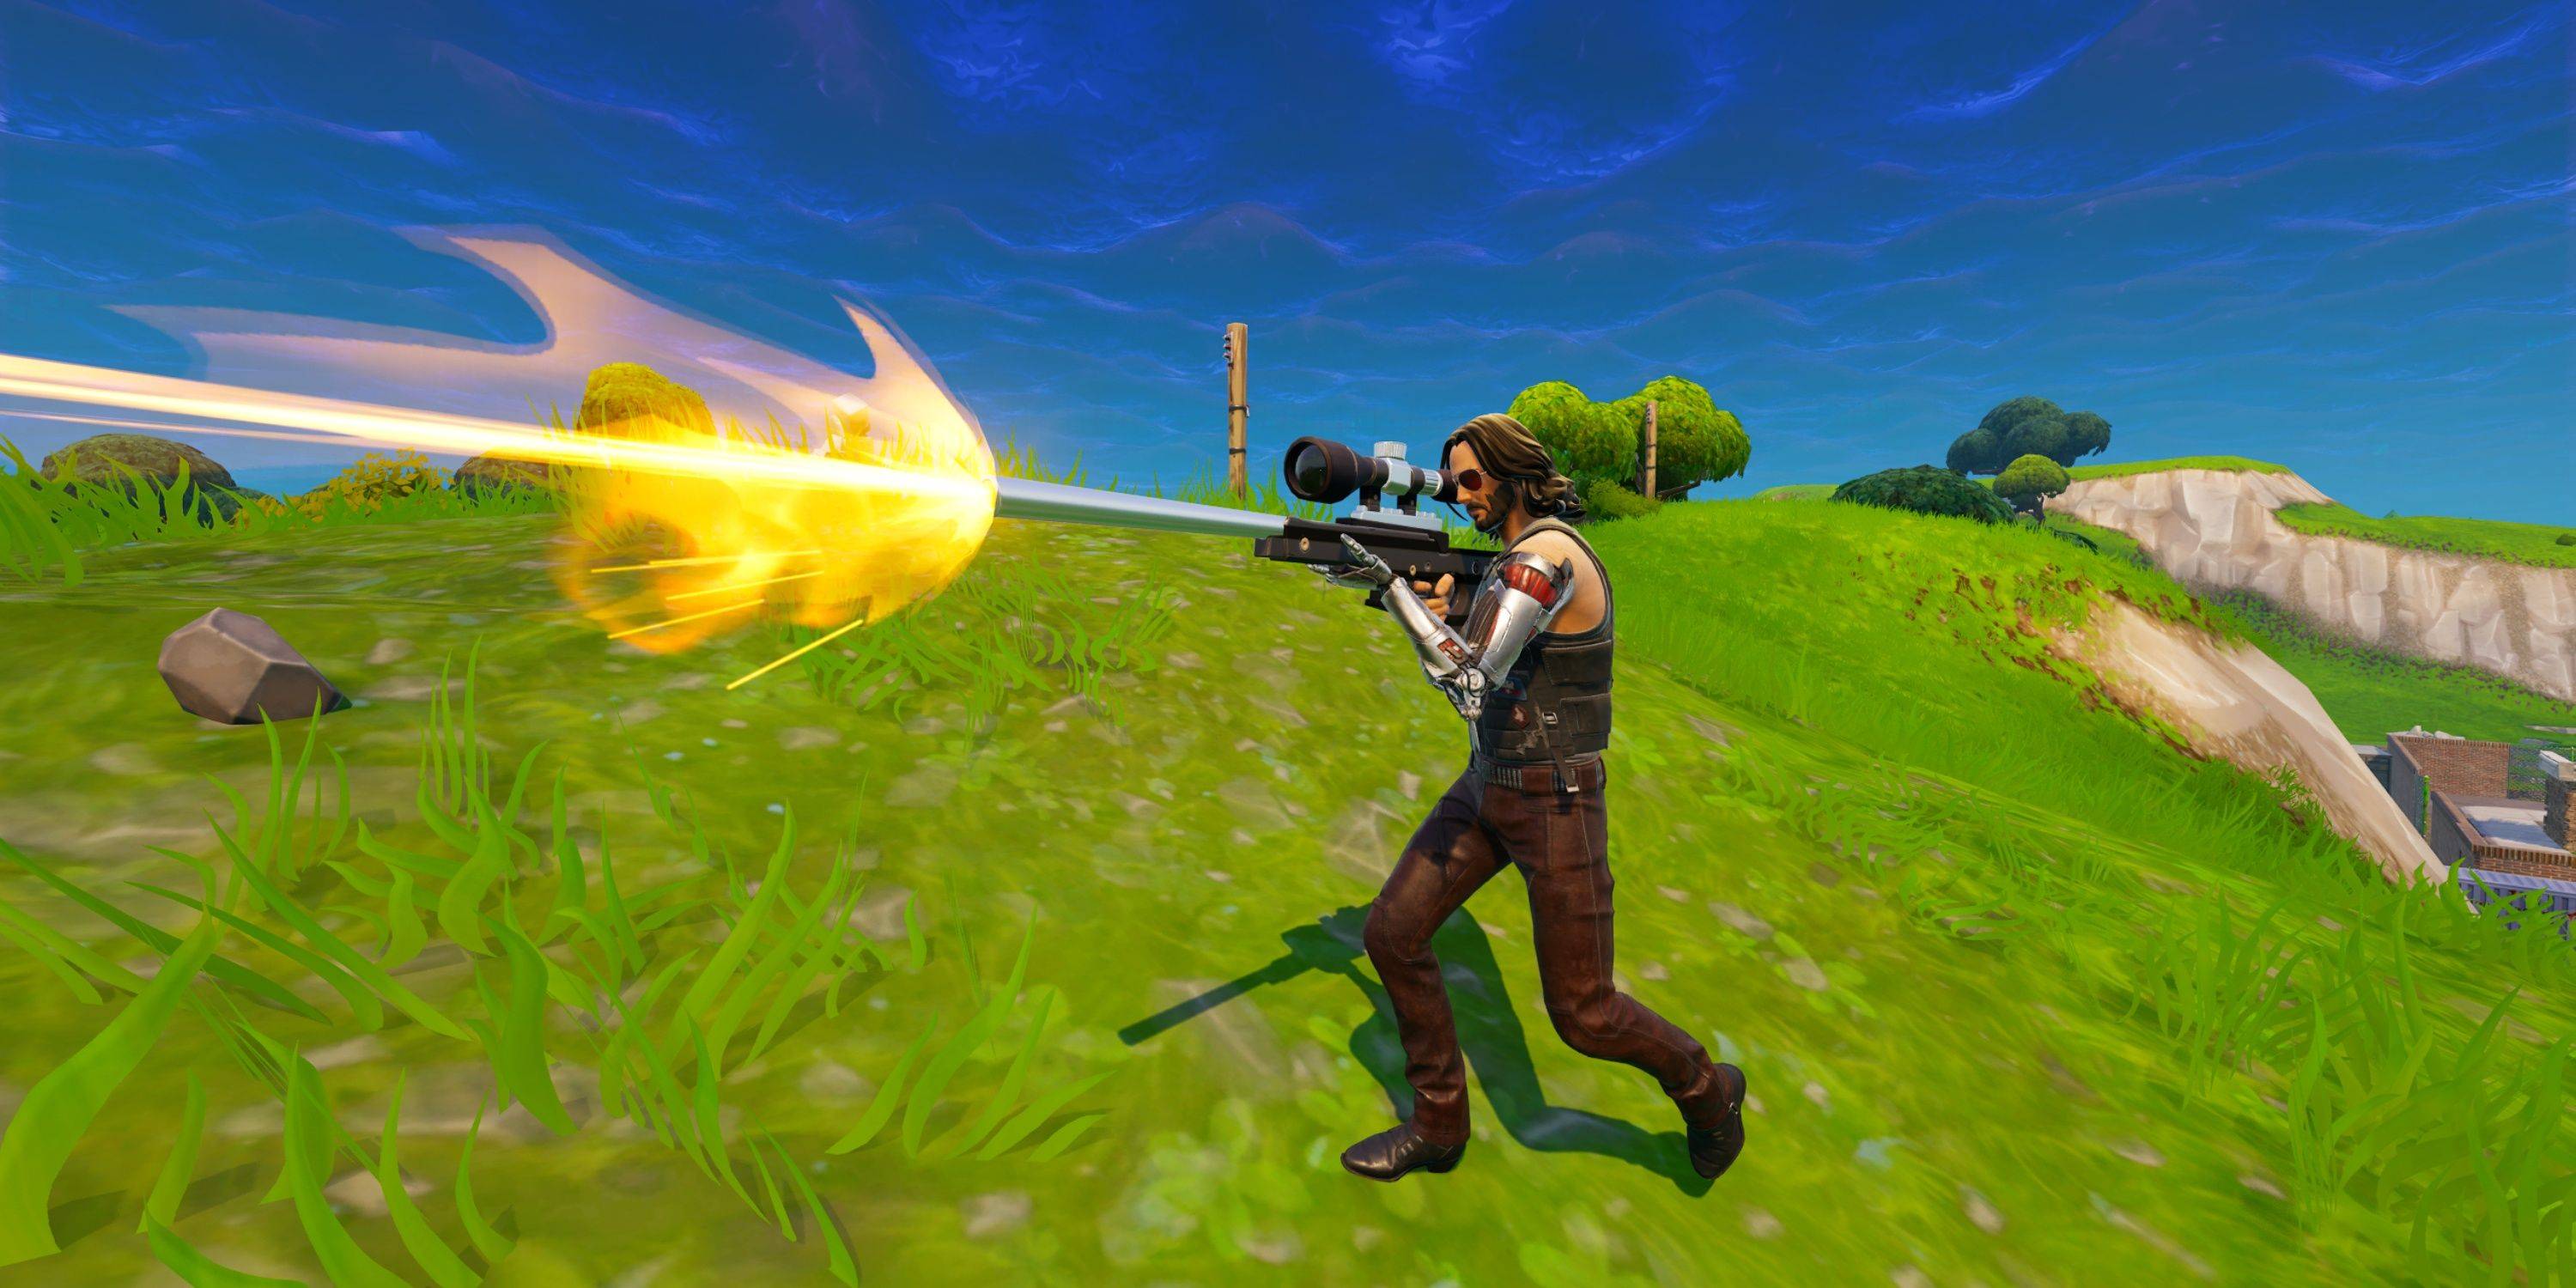 Sniper Rifles are back in their classic form, requiring players to predict bullet drop for lethal headshots. Here are the two variants available:
Bolt-Action Sniper Rifle
Rarity
Rare
Epic
Legendary
Damage
105
110
116
Magazine Size
1
1
1
Fire Rate
0.3s
0.3s
0.3s
Reload Time
3s
2.9s
2.7s
Structure Damage
105
110
116
The Bolt-Action Sniper Rifle, using Heavy Bullets, boasts a 2.5x headshot multiplier for instant eliminations. Its single-bullet magazine necessitates frequent reloads.
Semi-Auto Sniper Rifle
Rarity
Epic
Legendary
Damage
63
66
Magazine Size
10
10
Fire Rate
1.2
1.2
Reload Time
2.5s
2.3s
Structure Damage
75
78
The Semi-Auto Sniper Rifle, with its 2.5x headshot multiplier, can nearly eliminate players with full health and shields. Its fast fire rate and 10-bullet magazine make it ideal for pressuring opponents.
All Fortnite OG Explosives
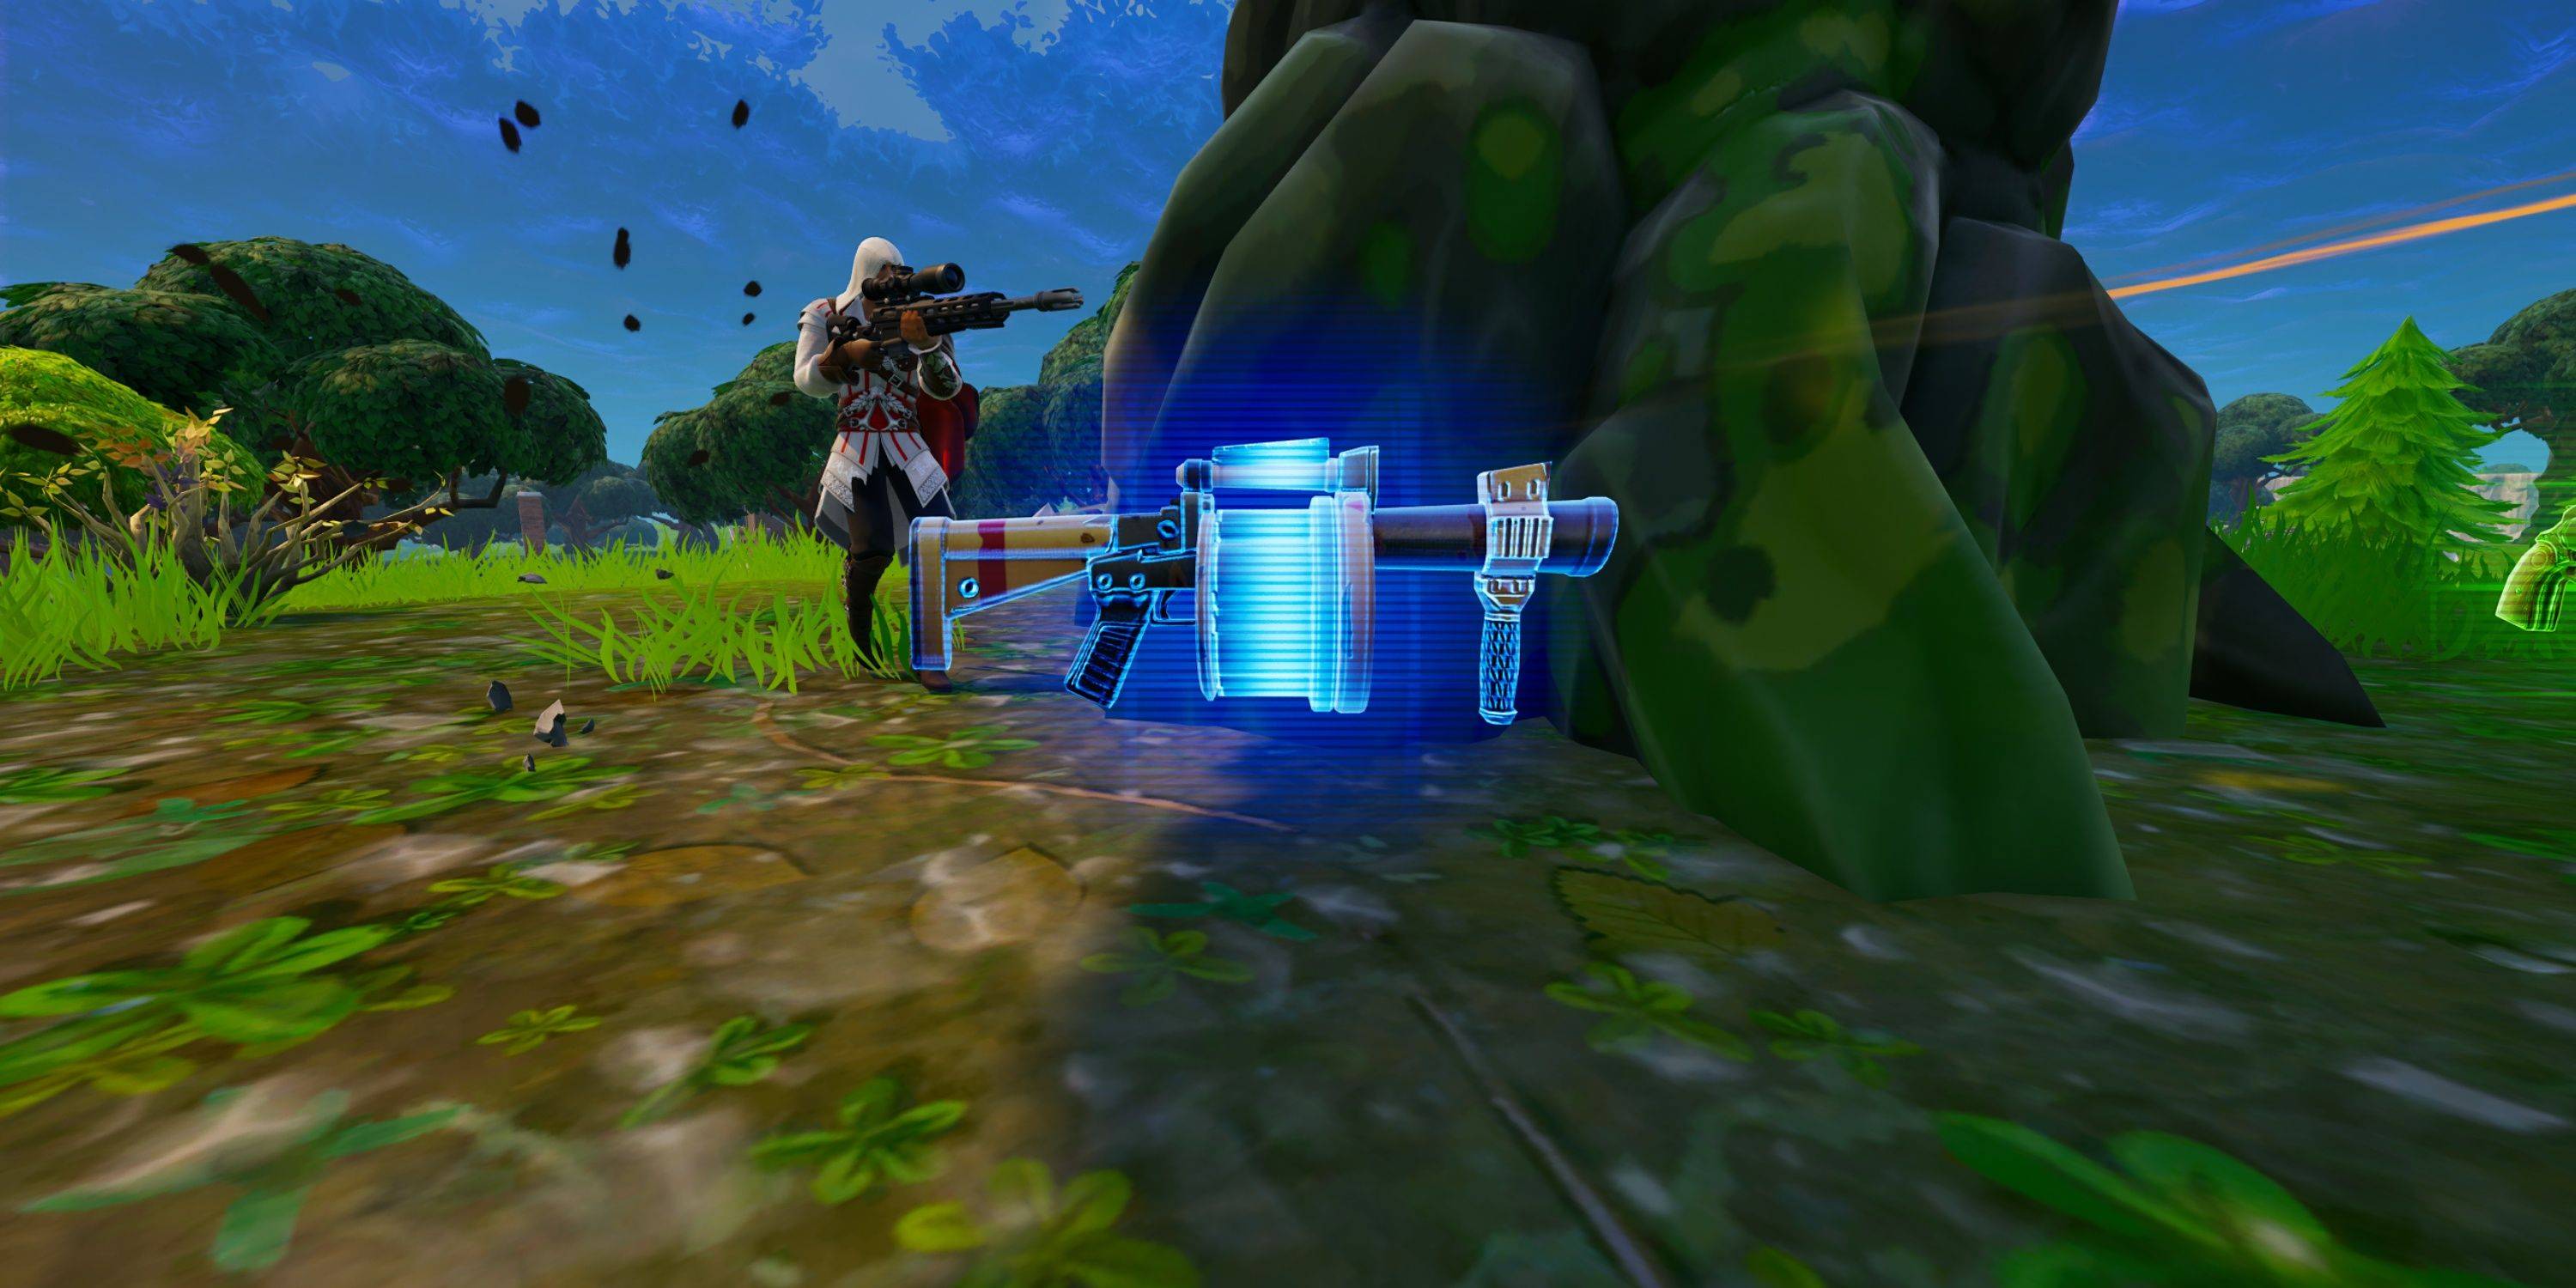 Explosives offer a straightforward path to victory in Fortnite OG by demolishing structures and exposing enemies:
Rocket Launcher
Rarity
Rare
Epic
Legendary
Damage
100
115
130
Magazine Size
1
1
1
Fire Rate
0.75s
0.75s
0.75s
Reload Time
3.60s
3.06s
2.52s
Structure Damage
300
315
330
The Rocket Launcher's splash and structure damage can obliterate builds and teams hiding behind cover, though its slow fire rate makes it easier to dodge.
Grenade Launcher
Rarity
Rare
Epic
Legendary
Damage
100
105
110
Magazine Size
6
6
6
Fire Rate
1
1
1
Reload Time
3s
2.8s
2.7s
Structure Damage
200
210
220
The Grenade Launcher offers less damage but more chaos, ideal for endgame scenarios where cover is scarce and open areas are contested.
Grenade
Damage
100
Structure Damage
375
Stack Size
6
Grenades, thrown to detonate after a delay, are perfect for destroying structures and cover, providing players with multiple opportunities for explosive plays.
All Fortnite OG Traps
 Traps, a nostalgic feature from Chapter 1, offer unique tactical advantages:
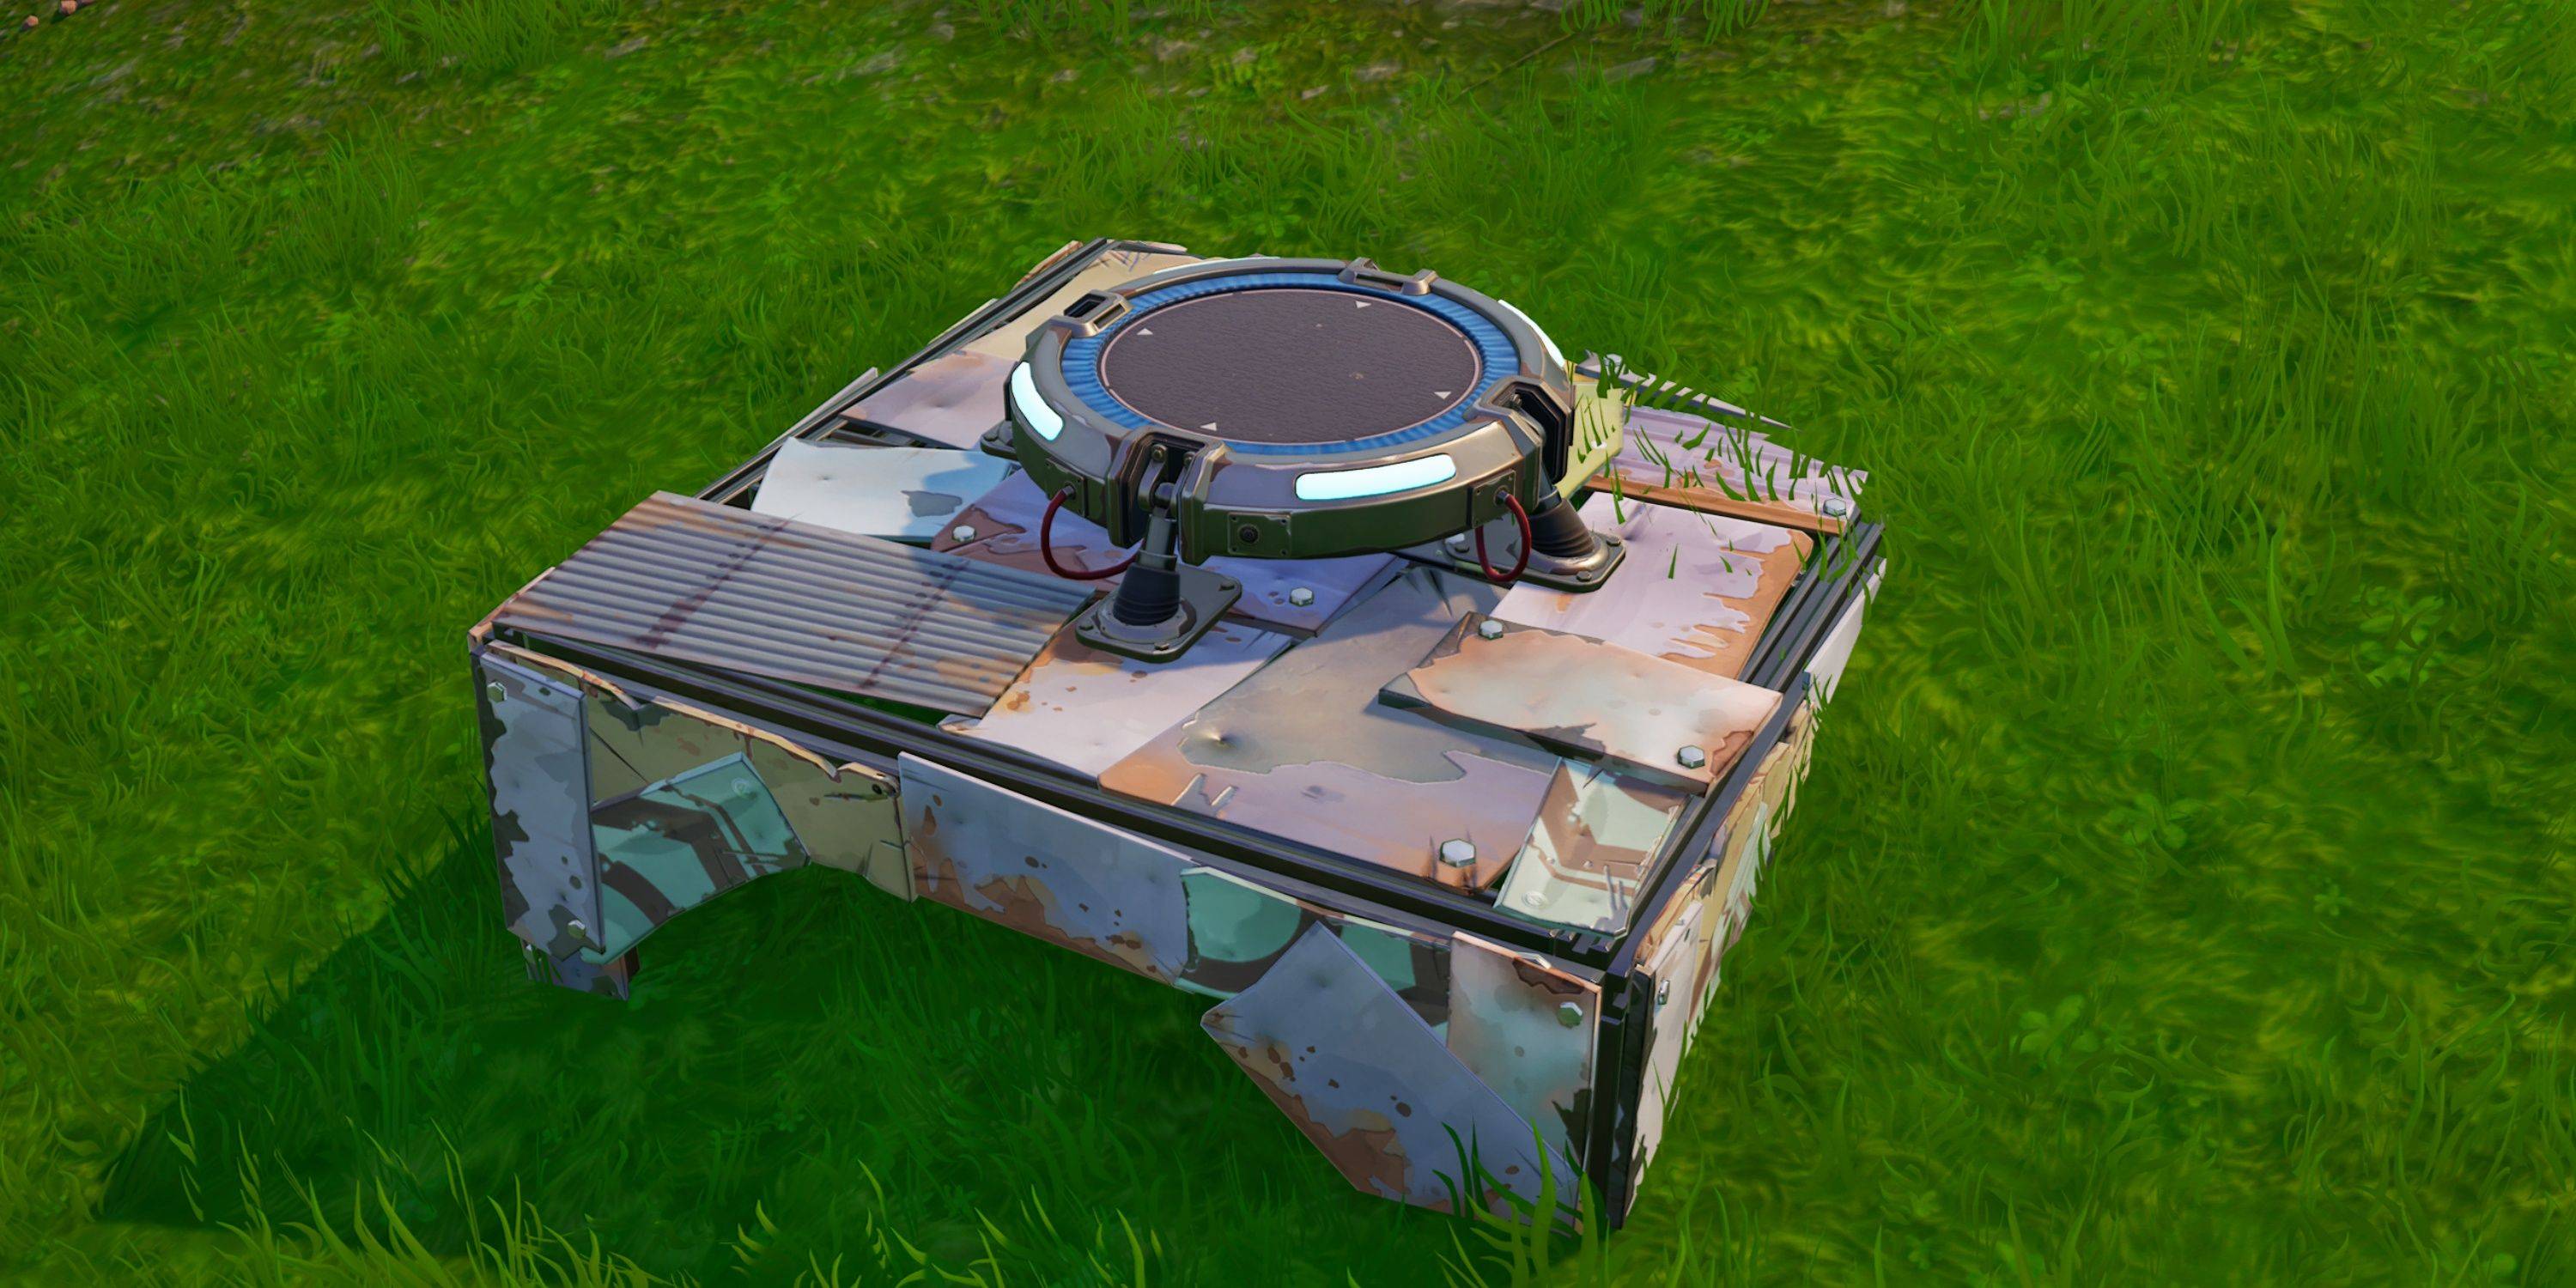
Launch Pad
The Launch Pad is essential for mobility, allowing players to bounce to safety. With a stack size of 2, it's perfect for escaping the storm or reaching high ground.
Ceiling Zapper
Damage
125
Cooldown
12 seconds
The Ceiling Zapper, placed on ceilings, can instantly eliminate or down players who pass beneath it, making it a deadly trap for unaware opponents.
Wall Dynamo
Damage
125
Cooldown
12 seconds
The Wall Dynamo, similar to the Ceiling Zapper but placed on walls, can zap and potentially kill enemies entering a structure, necessitating caution in enclosed spaces.
Damage Trap
Damage
150
Cooldown
5 seconds
The Damage Trap, a classic trap, can be placed on a single tile to deal 150 damage to unsuspecting enemies, ideal for sabotaging pursuits in Build Mode.
Directional Jump Pad
The Directional Jump Pad, available in horizontal and vertical variants, negates fall damage and aids in escaping high places or advancing quickly.
All Fortnite OG Consumables/Items
 Consumable items in Fortnite OG are less common than in later chapters and seasons, but here's what players can find in Chapter 1 Season 1:
Bandage
Health
+15 Health
Stack Size
15
Time to Use
3.5 seconds
Bandages restore health up to 75, offering a quick way to stay in the fight, especially useful against the storm.
Med Kit
Health
+100 Health
Stack Size
3
Time to Use
10 seconds
Med Kits fully restore health from 1 HP to 100 HP, though they can be interrupted by movement or damage.
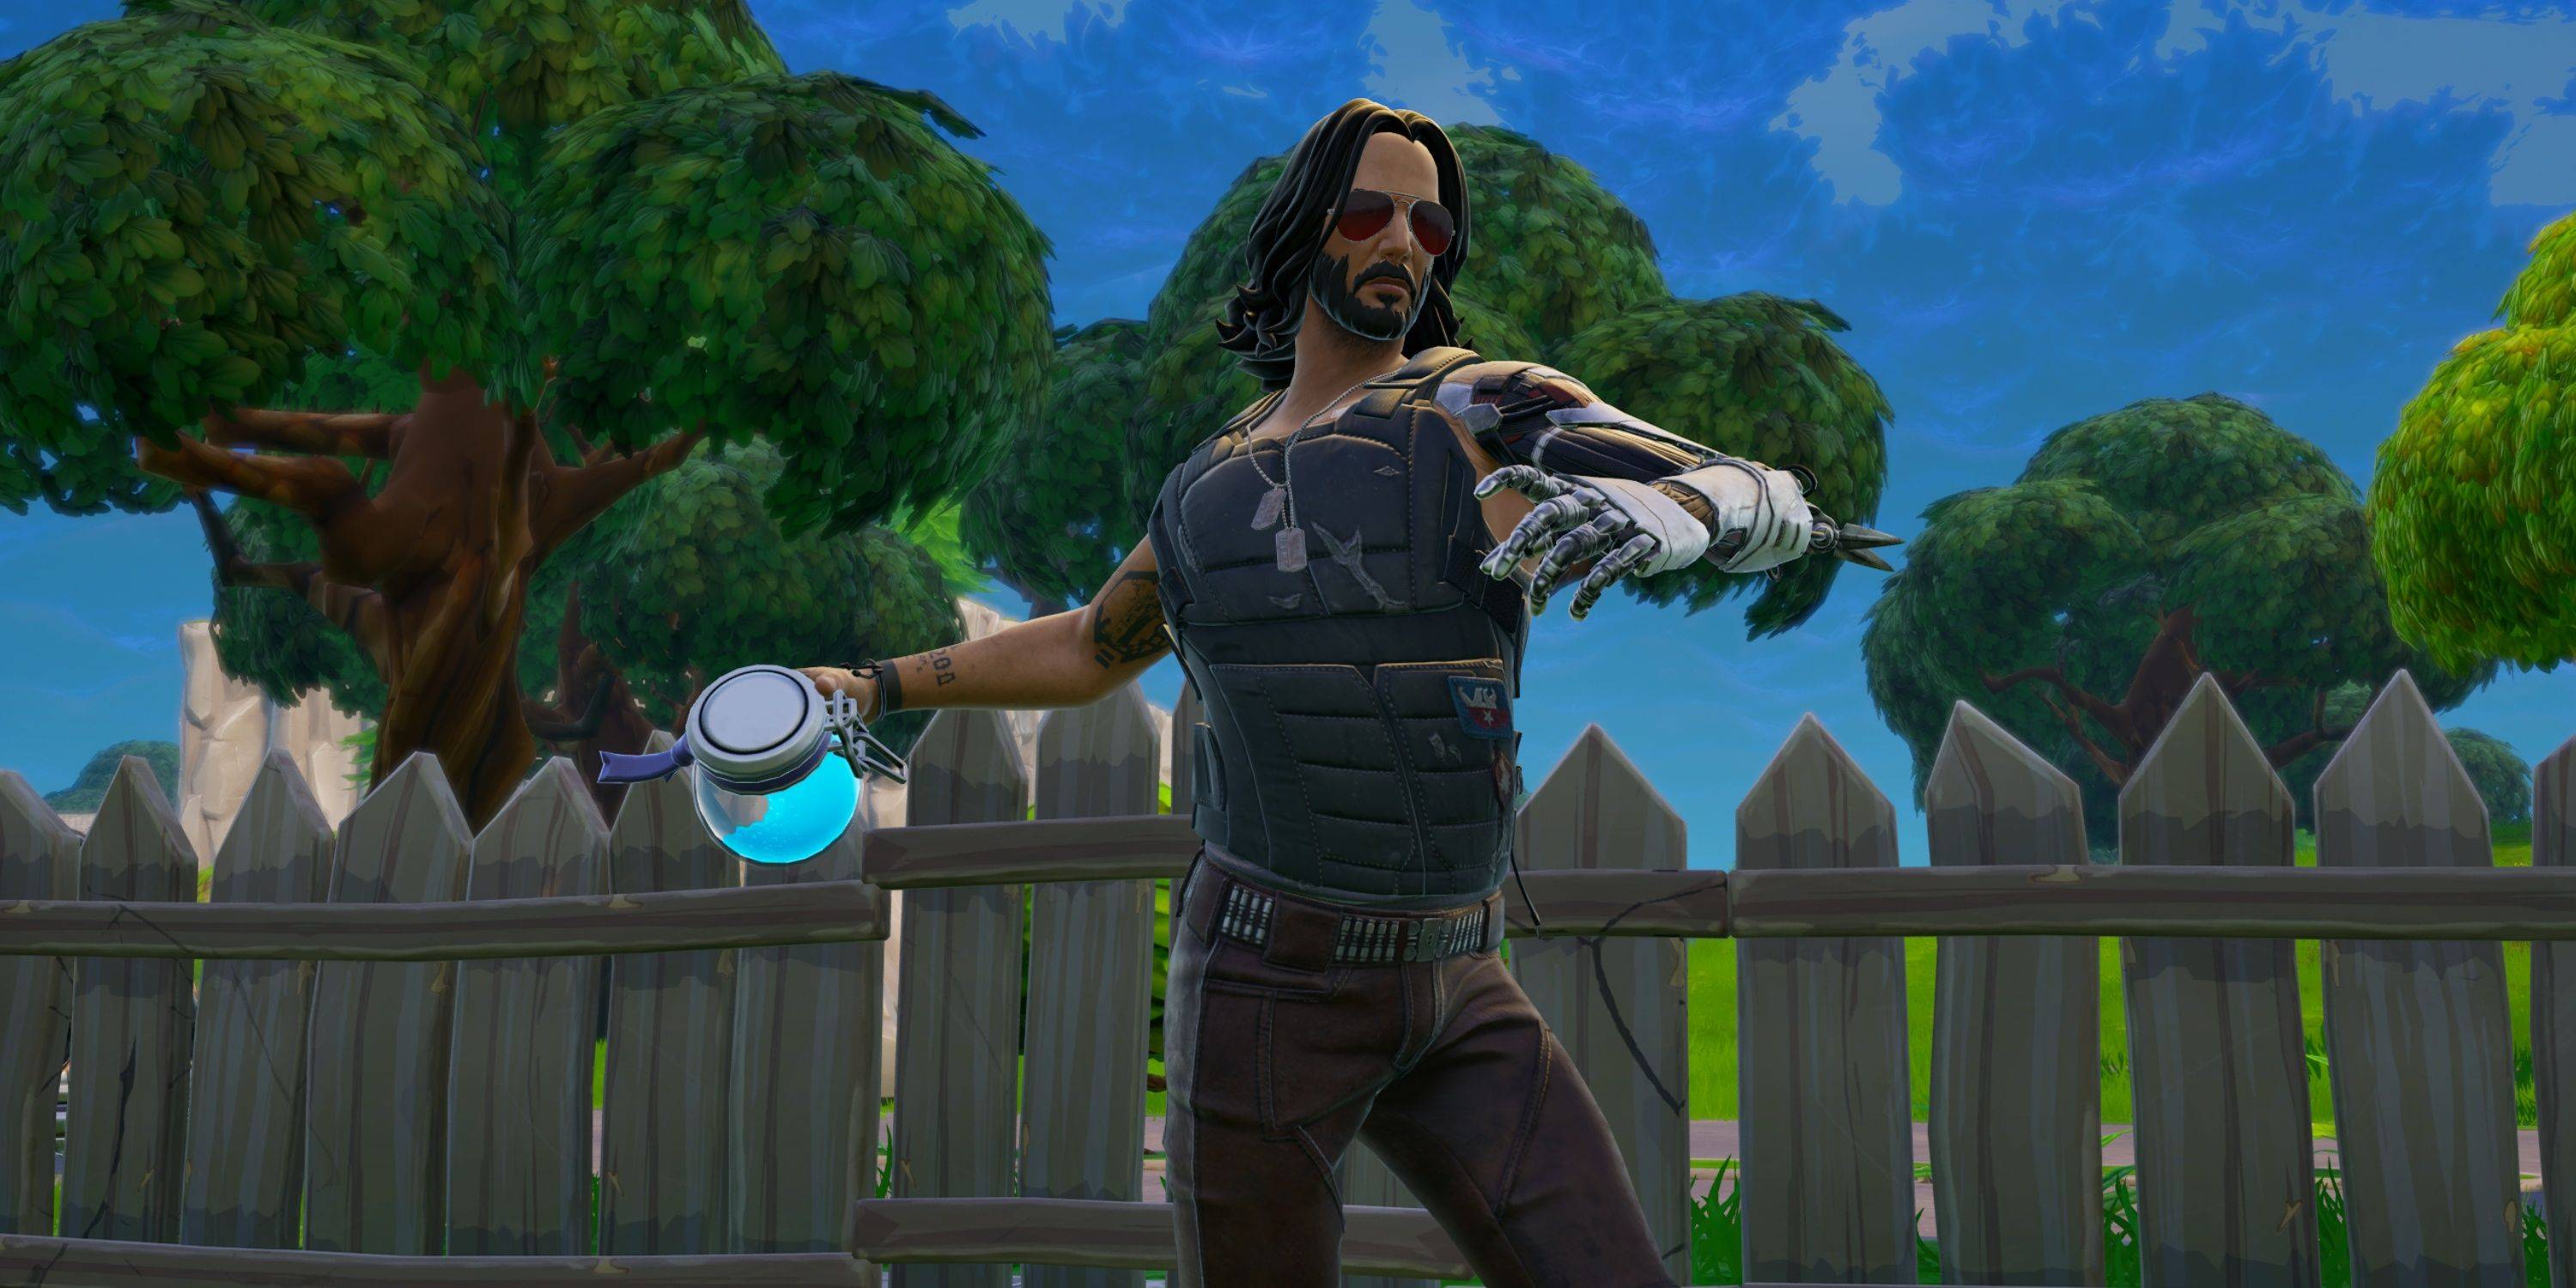
Shield Potion
Shields
+50 Shield
Stack Size
3
Time to Use
5 seconds
Shield Potions restore up to 50 or 100 shields, crucial for survival given their rarity and the absence of Small Shield Potions.
Slurp Juice
Health
+75 Health
Shield
+75 Shield
Stack Size
2
Time to Use
2 seconds
Lasts
37.5 seconds
Slurp Juice provides up to 75 health or shield, offering a versatile healing option, though it takes time to fully heal.
Bush
Health
+1 Health
Stack Size
2
Time to Use
3 seconds
The Bush provides camouflage, allowing players to blend into the environment. It can be destroyed by a shot but can save players from lethal damage.
Port-a-Bunker
Stack Size
4
Port-a-Bunkers are essential in Zero Build mode, providing instant cover for healing or reviving teammates in late-game scenarios.